Installation Procedure of Kali Linux
Now that we have seen how Kali Linux can be useful, let us look at the Installation steps and procedure for Kali Linux.
Installation Necessities
Kali Linux Installation is a simple and stress-free process. We will first need to check if our computer has compatible hardware. Platforms such as amd64, i386, and ARM support Kali Linux. The i386 images can be run on systems with more than 4GB RAM.
Installation Prerequisites
We will require at least 20 GB disk space to install Kali Linux.
We will need a RAM for systems using i386 and amd64 architectures, with at least 1GB of RAM, but it is recommended to have 2GB of RAM or more.
Our system will need to have a CD-DVD Drive support or a USB boot support
Installation Preparation
Download Kali Linux from the website.
Burn the Kali Linux Live to USB or Kali Linux ISO to DVD.
Ensure that the computer is set to boot from CD or USB, whichever medium we are using.
Steps to Install Kali Linux
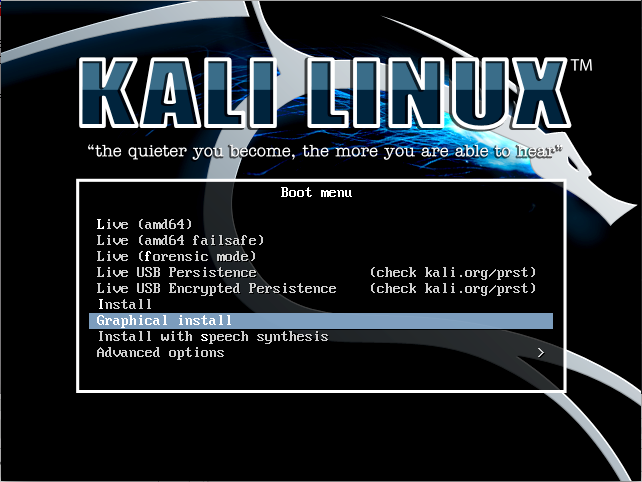
Step 1: Boot Screen
To start the installation, boot the system with either CD or USB, whichever installation medium we have chosen. We will be greeted with the Kali Linux boot screen. Here we can choose either Graphical Install or Text-Mode install.
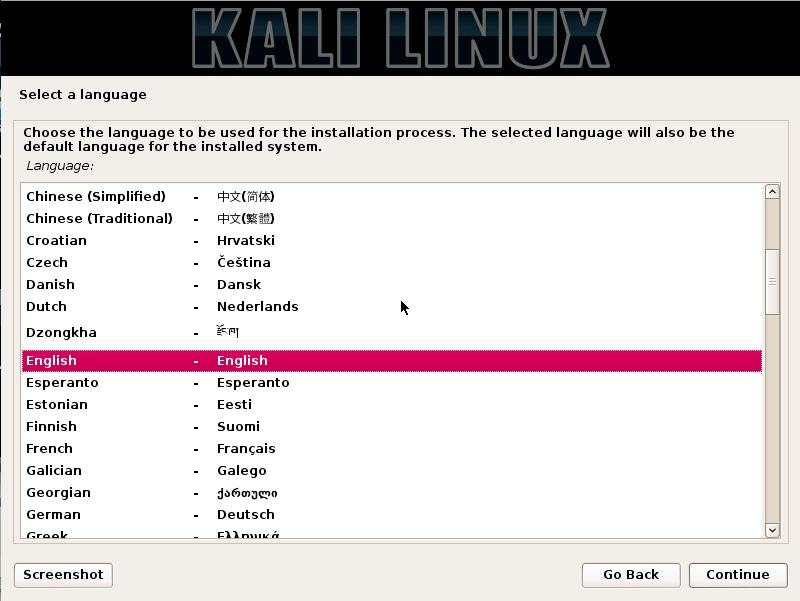
Step 2: Select a Language
Select the preferred language on the next screen and click on the Continue button.
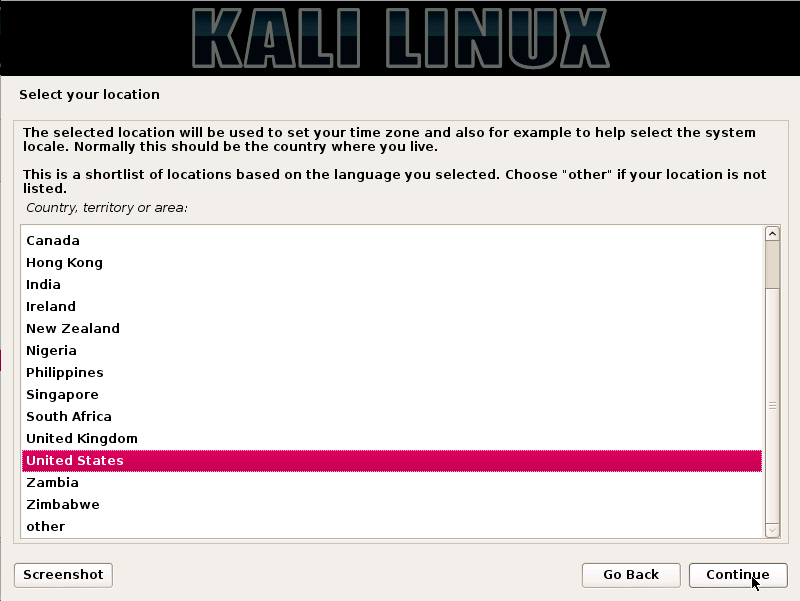
Step 3: Select your location
The next step will be specifying our geographic location. We then click on the Continue button.
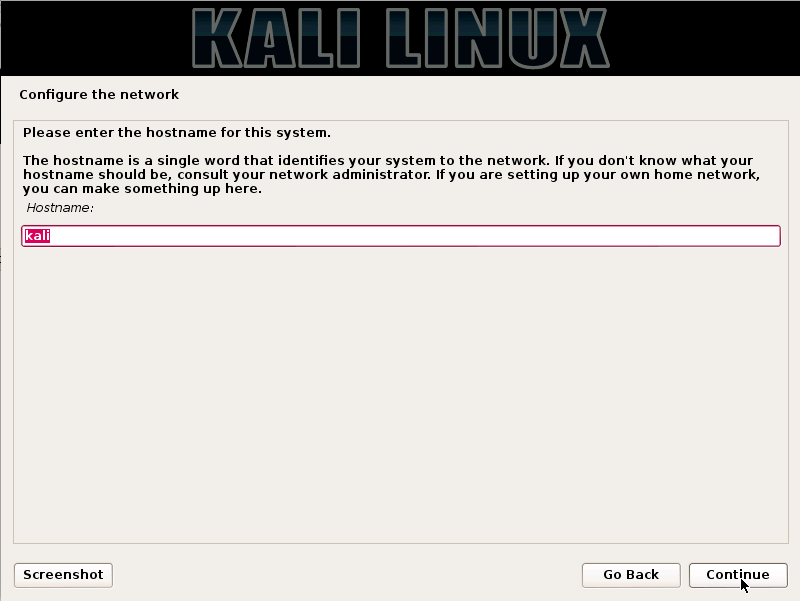
Step 4: Configure the Network – Enter Hostname
In this step, the image is copied to our hard disk, our network interfaces are probed, and then we are prompted to enter a hostname for the system. Click on the continue button after entering the hostname.
In our example, we have taken “kali” as our hostname.
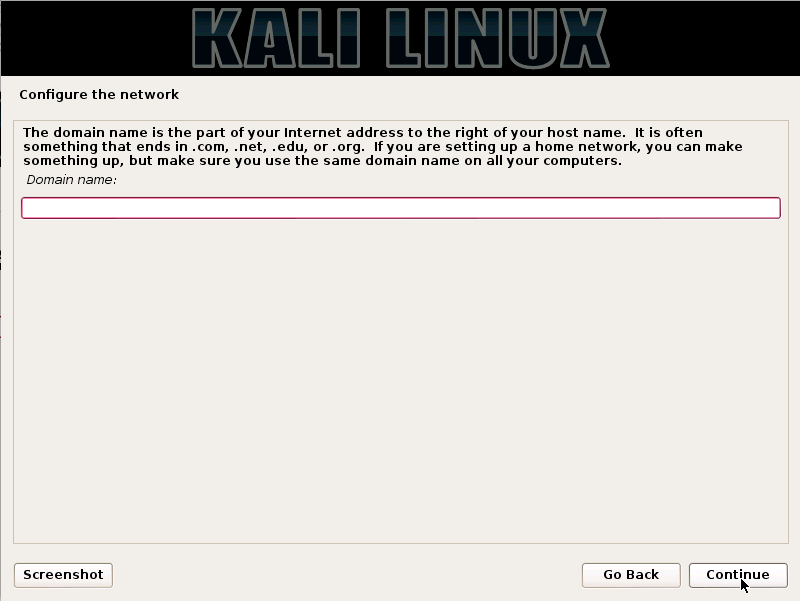
Step 5: Configure the Network – Enter the Domain Name
Optionally, we can also provide a domain name for our system to be able to use by default.
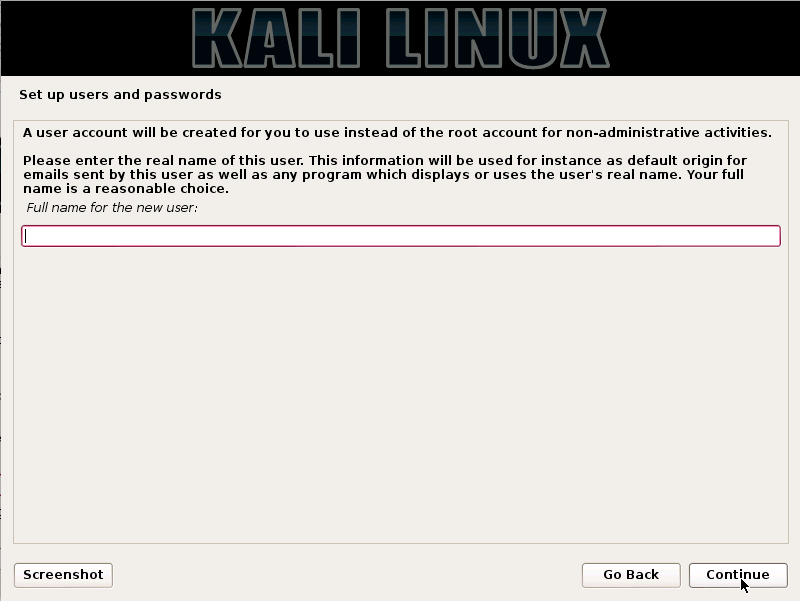
Step 6: Setup User Account
In the next step, we will need to provide a username for setting up the user account. The full name of the user is a reasonable choice for this field.
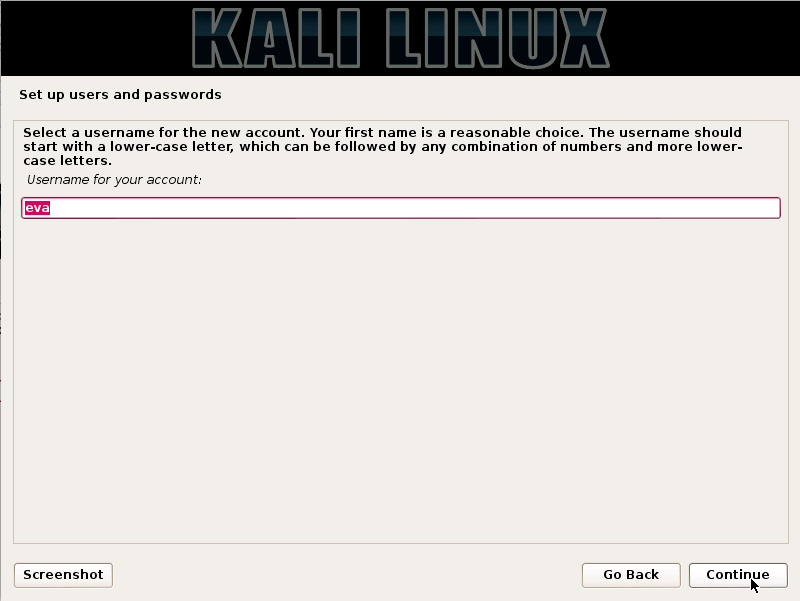
Step 7: Setup User ID
Based on the username provided in the previous step, a default user ID will be created. We can change this later from the settings if we like.
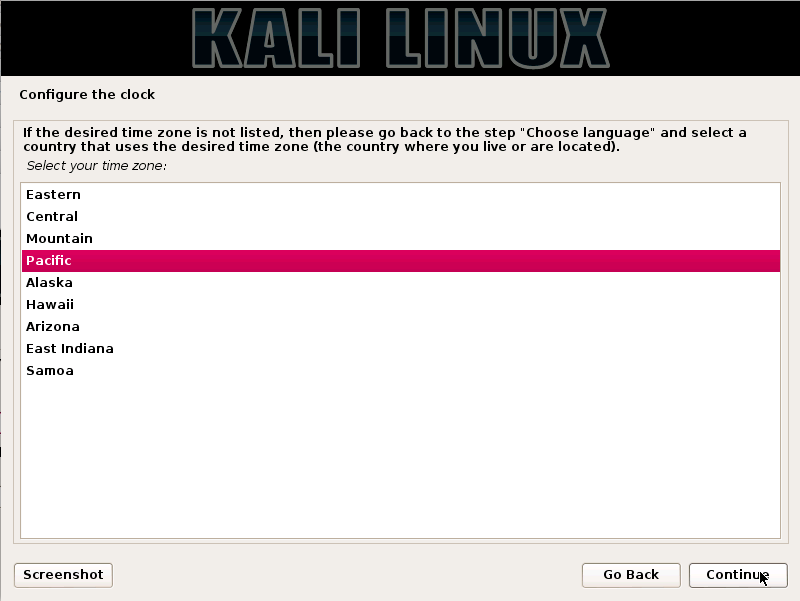
Step 8: Configure the Clock
Then, we will set our time zone in this step.
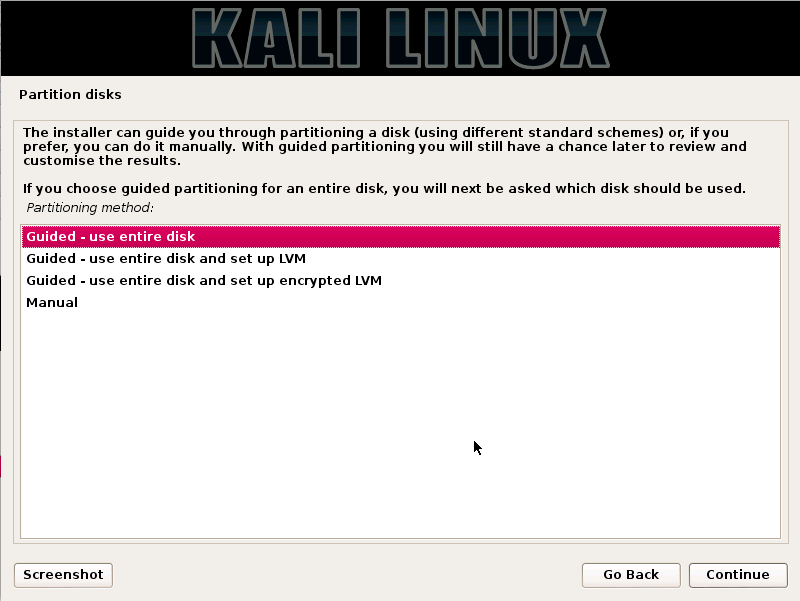
Step 9: Partitioning Method
In this step, the installer will review and analyze our disks and offer us four choices, as shown in the below screenshot.
For our example, we will be using the entire disk, hence we will choose the first option.
The second and third option will require us to configure LVM (logical volume manager) and the fourth option, Manual, can be used by experienced users for manual partitioning providing them with more granular configuration options.
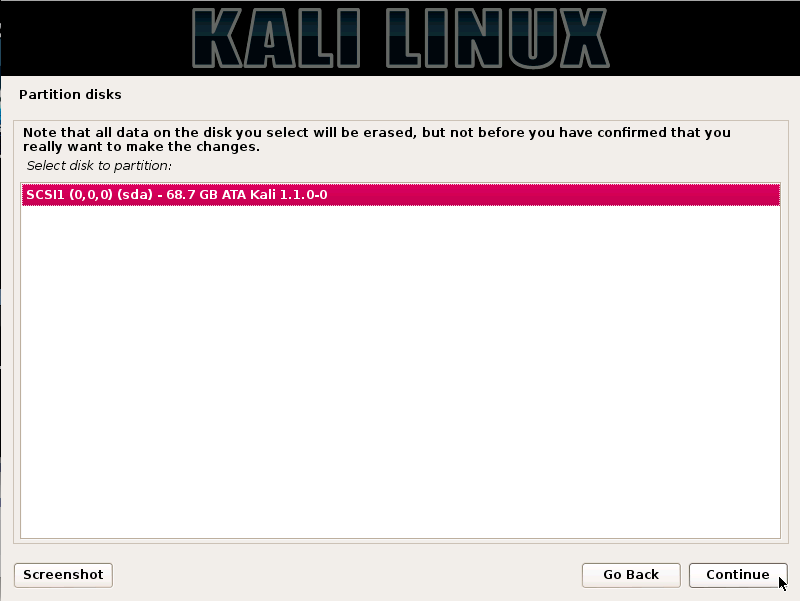
Step 10: Partition Disks
After selecting our Partitioning method, we need to select the disk to be partitioned.
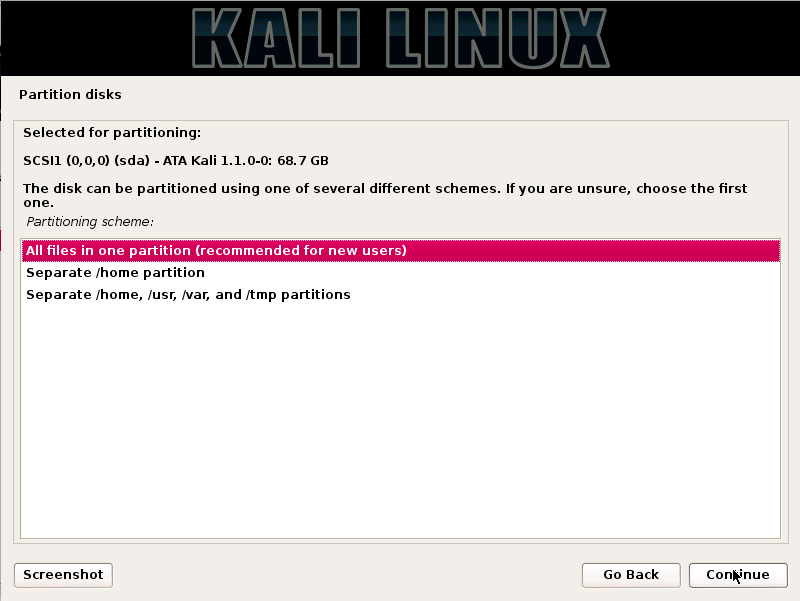
Step 11: Partitioning Scheme
Based on our needs, we can either keep all the directories in a single disk or choose to have distinct partitions for the directories. If we are not sure about the options, it is safest to go with the option “All files in one partition”
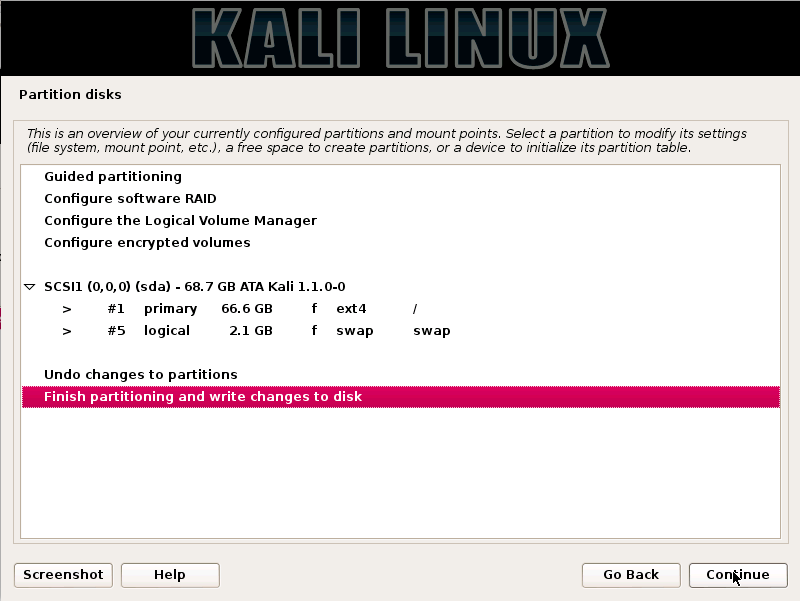
Step 12: Review Changes
This is the review page, where we can analyze the options we have selected and check for one last time if all our configuration changes are correct because once we click on Continue, the installer will get to work and irreversible changes will be made. Here we will have almost finished our installation, as the major steps are done.
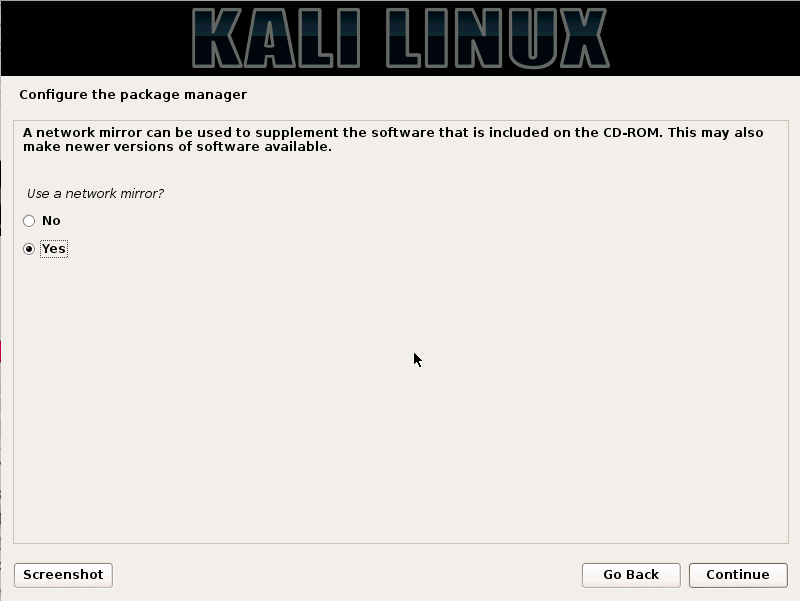
Step 13: Configure the Package Manager
In this step, we will configure network mirrors and we will need to enter proxy information if any, as needed.
NOTE: Choosing No on this screen, will not allow us to install packages from Kali repositories
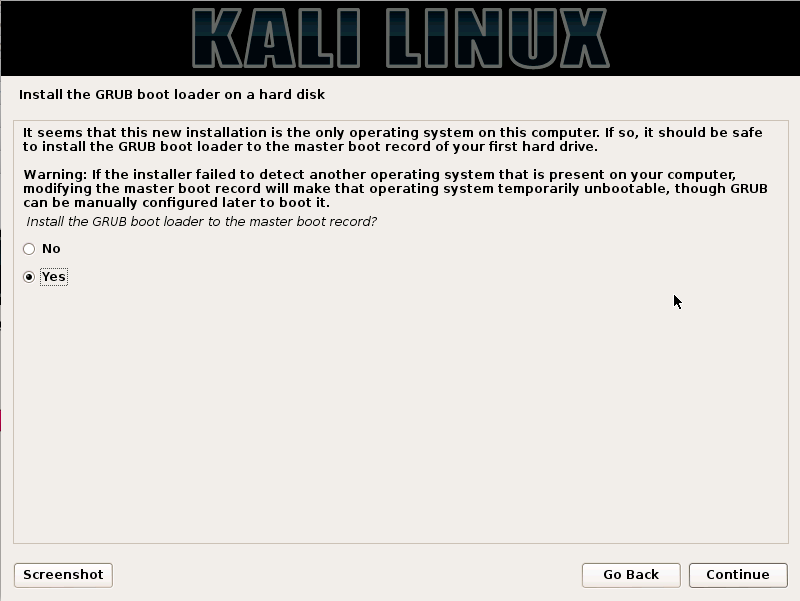
Step 14: Install GRUB
In this step, we will be prompted to install GRUB.